Saturday, April 13, 2013

Heavenly Hummus


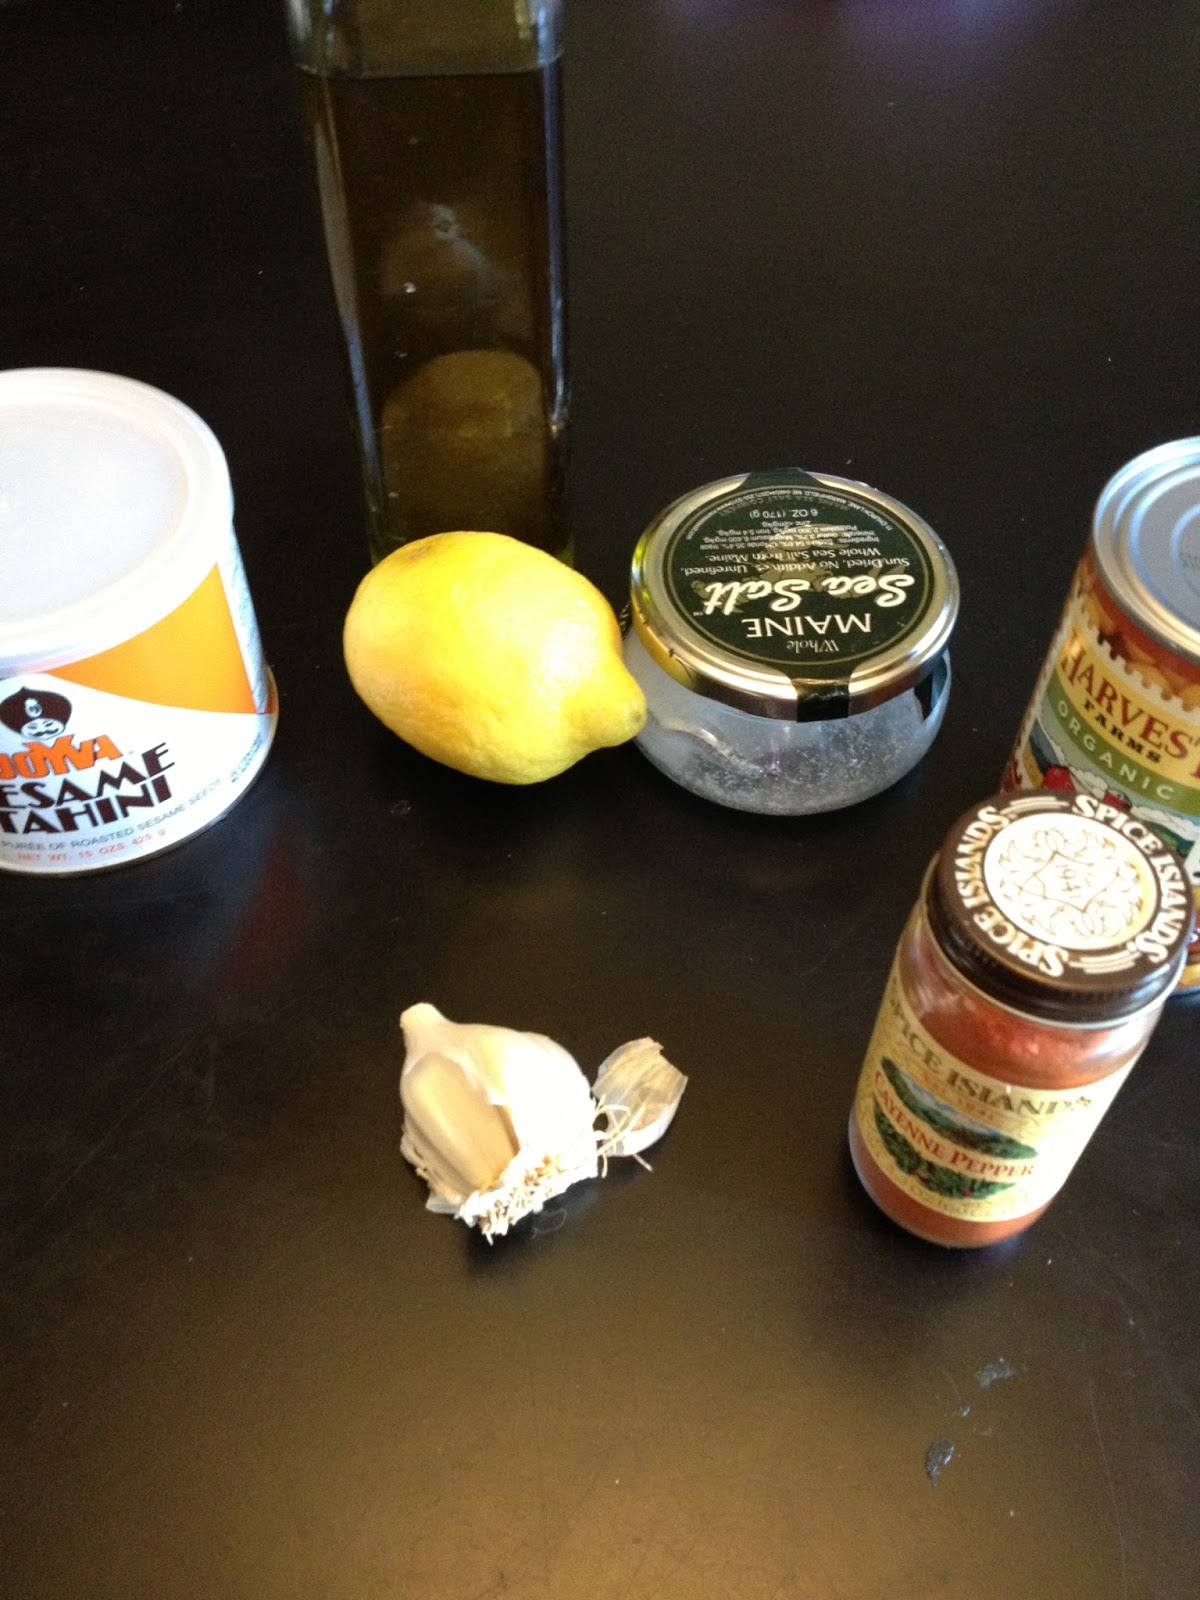
Hummus is a chickpea based spread that originates from the Middle East.  Hummus usually consists of chickpeas (also referred to as garbanzo beans), tahini, lemon juice, olive oil and garlic.  Hummus is extremely high in nutritional content.  I want to mention some of these amazing nutritional benefits you can get by incorporating hummus into your meal plans or lunch menu.  Hummus is high in fiber and protein which contributes to the feeling of satisfaction that comes from a serving of hummus.  Adding more fiber to your diet is an easy way to cut cholesterol,  manage blood sugar, alleviate symptoms of IBS, and lower your risk of diabetes and heart disease. There are compounds in the chickpeas as well as the tahini that help to maintain youthful and healthy looking skin. The molybdenum detoxes your skin by removing sulfites.  Sulfites are food preservatives that can cause wrinkles.  It's also been proven by several modern studies that tahini also has anti-aging qualities. Tahini, one of the main ingredients, is a paste made from ground up sesame seeds.  Sesame seeds are a good source of an amino acid methionine.  Methionine helps to detoxify the liver as well as help the body absorb other amino acids.  Tahini contains a handful of B vitamins which are crucial to healthy cell growth and division, as well as supporting a healthy metabolism and boosting your immune system.  Tahini is also very high in calcium, which of course we need to maintain strong bones and muscles.  Calcium also helps the nervous system function more optimally by assisting the nerves in sending messages between the brain all of the body parts.  Here is my recipe for Hummus:

1\2 cup tahini
juice from 3 lemons
2 cans garbanzo beans
up to 3 garlic cloves
1 cup water
1/4 cup Olive oil
up to 1/2 tsp celtic sea salt
handful of cilantro or parsley
1/2 tsp cumin
pinch of paprika
(optional) toasted pine nuts

Directions:
Start by putting the tahini and lemon in the food processor and blend for about 45 seconds.  Then, simply add the rest of the ingredients on the list, and puree until desired consistency.  For an added yum factor, add some toasted pine nuts on top:)    It's that easy!  Enjoy your hummus with some raw veggies or pita bread.  Hummus is something many toddlers also enjoy because they love to dip!  It's mostly raw, glutin-free, vegetarian and definitely delicious!  It's a great thing also to bring for a picnic or to a potluck.  Give it a try and let me know how it goes :)


For more information or for some health and wellness tips, come check out my website at restoringhealthybalance.com. For a free health consultation, please contact me at kelly@restoringhealthybalance.com

Sunday, April 7, 2013

Why Downward-Facing Dog brings so much relief

Downward-Facing Dog (Adho Mukha Svanasana) is a great way to start your practice.  Remember that every single part of your practice is a big deal to your body.  This may look like a simple pose, but the first time I tried this pose I couldn't last more than a few seconds before discomfort hit, and what felt like unbearable pain wasn't far behind.  After spending the time it takes to become more comfortable in the pose, it eventually becomes a position of rest during a standing sequence.  I find this posture a great one to start my practice with because it allows me to really shift my world around, as half of my body is in an inverted position for the first time of the day.  This alone feels incredibly relieving.  Gravity has an impact on us either way, but if we can switch it around at least a few minutes a day, we can shift our whole bio-chemistry and our bodies will thank us tremendously! All day long gravity puts so much pressure on our joints, organs, and our skin.  Reversing this can be an amazing opportunity to restore our energy or re-direct an attitude that isn't serving us to one that is in alignment with our intention of our day or practice.  While you are strengthening your wrists and hands, shoulder blade area and back, you are lengthening the hamstrings, cervical spine, and lower back.  Incorporating this posture into your daily practice will help to correct the alignment of your spine and can truly transform your posture.  I will walk you through how to get into this posture from Child's Pose.
  • Begin by sliding the arms out in front of you with palms down as you tuck your toes under to send your tailbone straight up.
  • Your hands should be about shoulder-width apart while your feet are hip-width apart.
  • Spread your fingers evenly and press the knuckles of your index fingers down.
  • Press your thighs back towards the wall behind you as you engage the muscles by squeezing them to the bone.  
  • Shake your head forward and back a couple times to release any tension in the cervical spine.
  • Make sure to roll the shoulder blades down the back as you spread them apart.
  • Try bending the knees to get a straighter line in your spine as you press your hands down more firmly and pull the hips up and back.
  •  Just take the time to notice any imbalances you may feel or postural habits, or places you may be compensating.    
  • Try to bring some life into the legs by pressing the heels down and gaze back between the legs.
  • Let your brain enjoy the sudden surge of blood and oxygen that comes from assuming the inverted "V" position and releasing the muscles in your neck, allowing the artery that carries the oxygen-rich blood to your brain to dilate and flow more freely.
  • Press your hands down as you lift your pelvis up and back.  Repeat this movement over and over again until you have achieved a straight line from your hands, through your shoulders, along your spine up to to your hips.
  • Lift your navel center towards the spine and remember to breathe deeply into areas of discomfort or tightness and watch the energy shift throughout your body.
  • Try and enjoy being in this position and play with variations such as one legged down dog or flip the dog, etc.
Now go find your dog and have a wonderful practice :)

For more information or for some health and wellness tips, come check out my website at restoringhealthybalance.com.  For a free health consultation, please contact me at kelly@restoringhealthybalance.com

Tuesday, April 2, 2013

Why hip openers are critical to reducing stress and ease in overall movement

I know I have super duper tight hips, always have.  This is why it's so important for me to incorporate hip openers in every exercise session or yoga practice I do.  I can tell you that no matter who you are, these will be a crucial element to reducing stress and risk of injury, as well as allowing for improved posture and more ease in overall movement.  Our glutes, groins, and psoas get a wonderful stretch which will help to alleviate sciatic pain and discomfort.  Athletes will improve their performance tremendously and feel dramatically less sore if they utilize hip openers in their training.  We commonly store anxiety, tension, and emotional traumas in our hips, making hip openers even more critical to wellness in a holistic sense.  There are many hip opening postures to choose from and they are all unique in form and impact.   I will outline Pigeon Pose here, but some others that are equally as effective are Reclined Bound Angle Pose, Frog Pose, Happy Baby, Eye of the Needle, and Cow Face (one of my favorites)!
 
Pigeon Pose- Eka Pada Rajakapotasana


To get into Half Pigeon Pose:
  1. Start on all fours, wrists slightly forward of your shoulders and knees directly below your hips.
  2. Slide your right knee towards your right hand while you extend your left leg straight back dropping the front of your left thigh towards the floor. 
  3. Slowly and to your degree of flexibility, slide your right foot forwards until you feel you have reached your edge.  
  4. Make sure your hips and shoulders are square to the front of your mat and your left leg is straight back.
  5. Continue to adjust as needed and work your edge, making sure you feel a good stretch but not taking it too far as to risk a knee injury. 
  6. If props are something you like to experiment with, you can use a block or rolled up blanket under your right upper thigh\ hip. 
  7. Puff your chest up, look up and back as you slide the shoulder blades down your back.
  8. Then start to slide the palms of your hands forward while making sure your hips and shoulders are still square to the floor and front of the mat.  Continue to lower down as needed without pain, and breathe.
  9. Take 5 full breaths here, more as desired but 5 at the minimum.
  10. There are more advanced versions (One-Legged King Pigeon Pose) and also modifications for this if this is too much stretch for you right now, such as Eye of the Needle.
~ May your practice be infused with feelings of joy and abundance:)
 
If you are interested in a free health consultation, please visit me at restoringhealthybalance.com
Posted by Picasa